
I’ve been wanting to make my own Papel Picado templates for a while (ever since I learned that day!) and finally I am able to share some today.
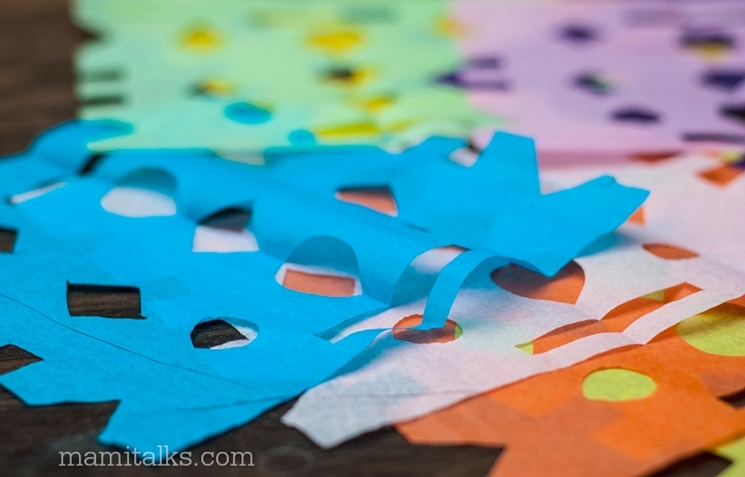
I was working on them these days and had some sample tryouts cut out of bond paper when the kids saw them they immediately wanted to play with the scissors and cut their own, so I let them. The result was great! Adrian was able to actually make some cute ones so I realized how I can have easy templates that even kids can cut and hard ones that more experienced adults can make.
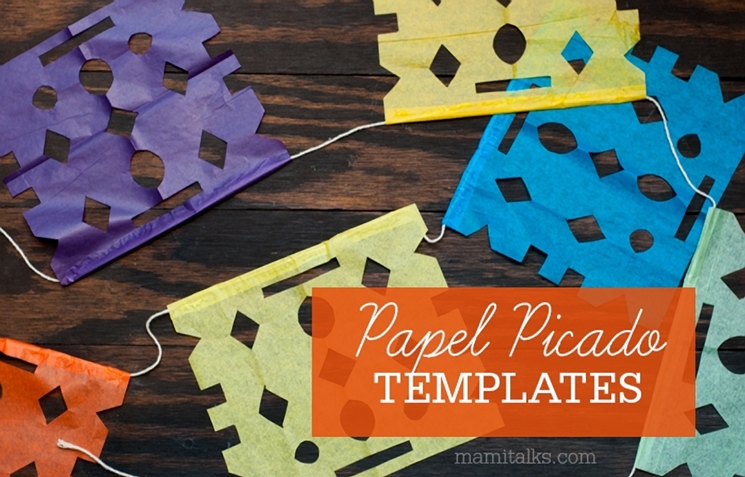
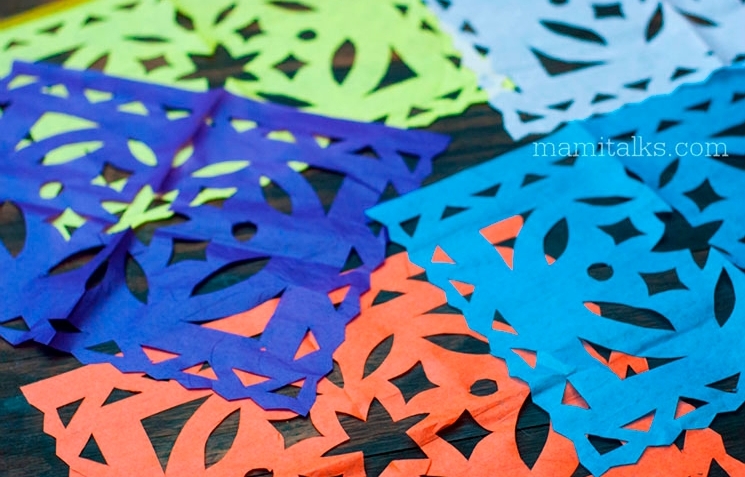
In this post, you can download three Papel Picado templates: an easy, medium and advanced difficulty one.
The one pictured on the cover and in the step-by-step instructions is the easy one and Adrian designed it, so it’s guaranteed that kids can do it! I just grabbed his paper and traced it and redid it for the photos. It just shows how easy it is to make Papel Picado, any shapes can work!
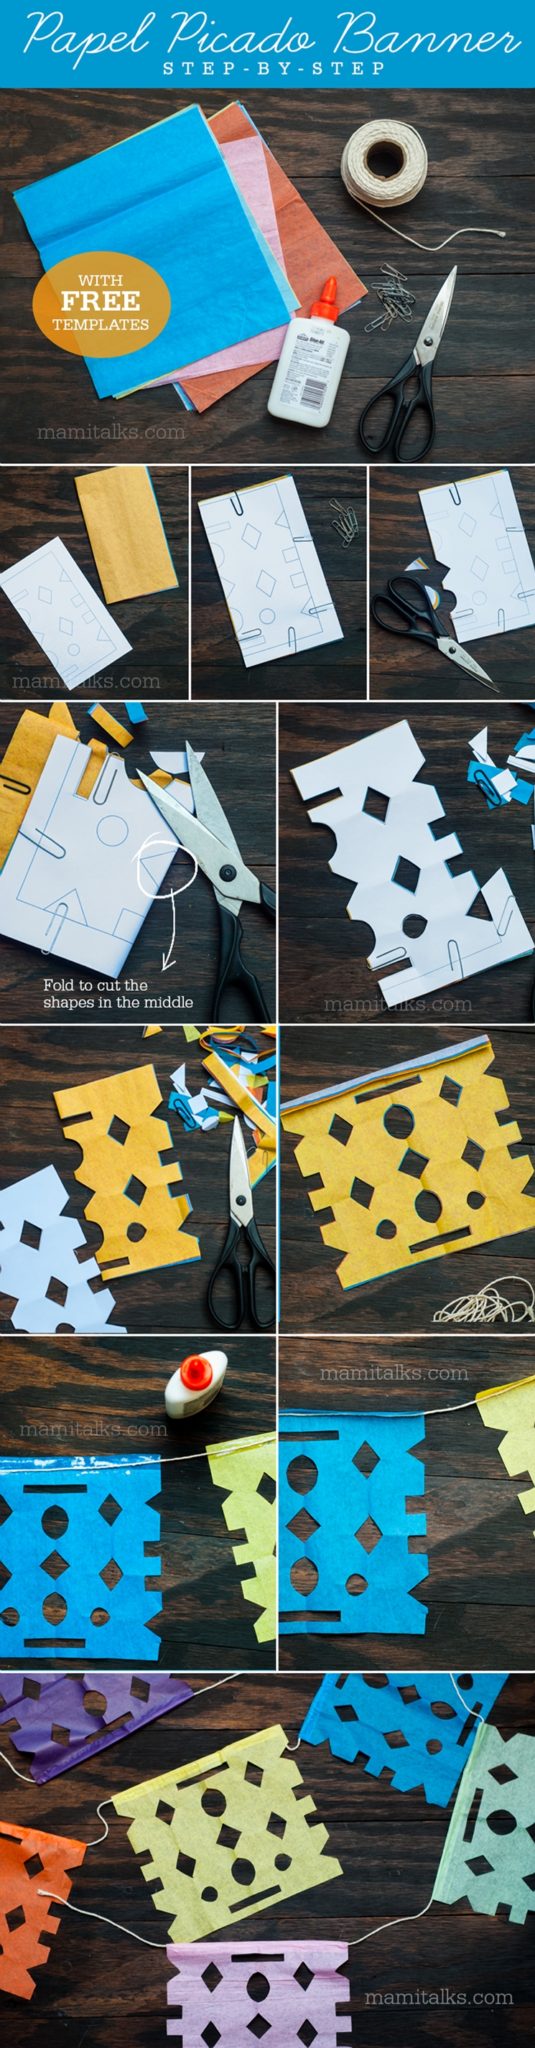
Here is the step-by-step for how to make a Papel Picado Banner:
What you will need:
- Colorful tissue paper
- Craft glue
- Paper clips or staples
- Scissors
- Cord
- Template
Instructions:
- Cut the template leaving about 1/2 an inch around it except on the folded side.
- Cut the tissue paper approximately to measure double the size of the template you are using.
- Grab about 4 tissue papers together and then fold them in half.
- Place the template on top of the tissues making sure that the folded side of them is aligned with the border of the template that says “folded side”.
- Attach paper clips in several areas. (You can also use staples on areas you know that will come out)
- Cut your Papel Picado! For some of the inner shapes, you can fold the whole thing where the shape is and cut. Take away clips when you need to, making sure that you hold the tissues and template all together until the end.
- Open up the cut-out Papel Picado and fold the top part down, this is for the cord.
- Separate them and open up the top, place the cord inside and apply glue. Do this with all of them.
- Fold-down and let it dry.
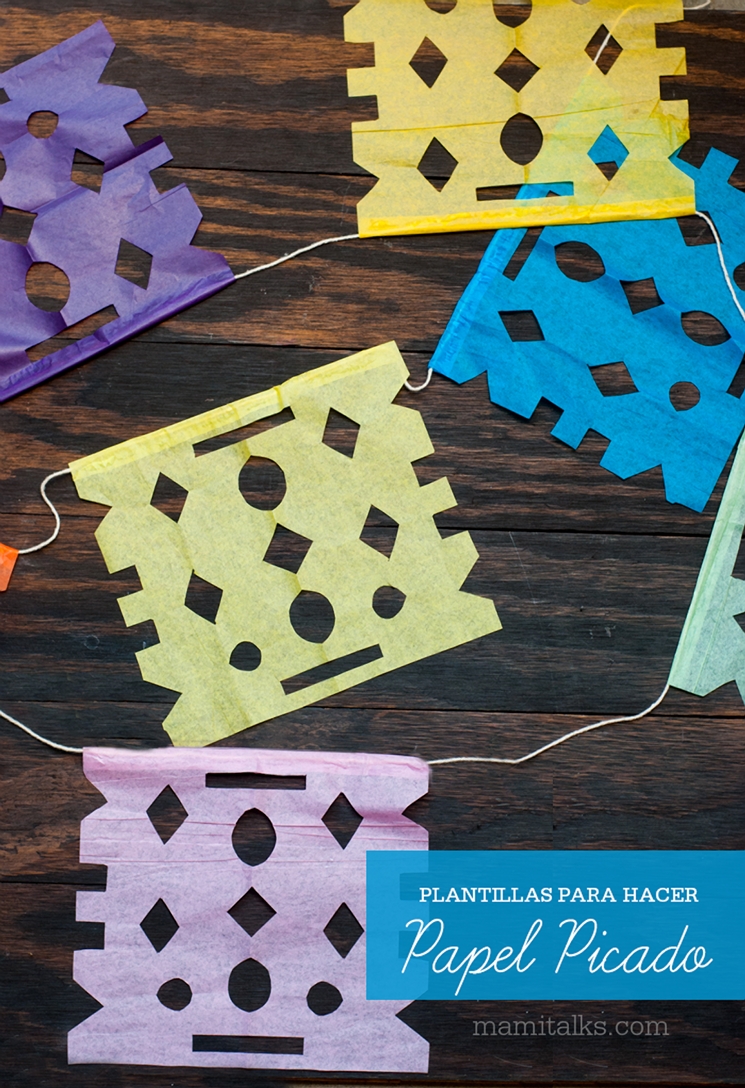
- Hang your banner!
The Papel Picado banner is a big symbol of Día de los Muertos. Instead of hanging it you can also make the Papel Picado by itself without the cord and use them to place them on your altar, kind of like a tablecloth, it will look very nice too! I think I am going to do that this year.
Scroll down to download the templates.
**UPDATE**: Many of you have asked if I have these already made for sale or for weddings. I don’t sell them but here is a partial list where you can also find some Papel Picado to buy online, hope you find what you’re looking for!!:
Medium Mexican Papel Picado // Mexican Tissue Papel Picado // Wedding Papel Picado // Fiesta Banner // Baby Papel Picado Banner // Gender Reveal Papel Picado// Fiesta Papel Picado Banner

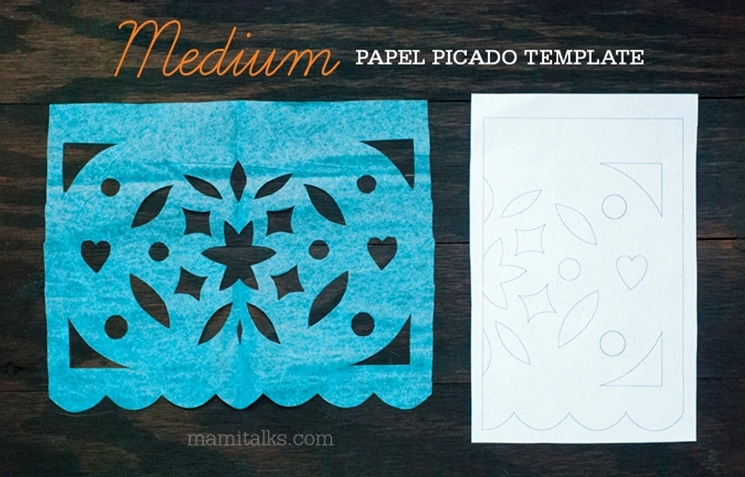
Download Medium difficulty papel picadoTemplate here
Baja la plantilla de mediana dificultad de papel picado aquí

– E S P A Ñ O L –
PLANTILLAS PARA HACER PAPEL PICADO
Desde hace tiempo que he quería hacer mis propias plantillas de papel picado (desde que aprendí la otra vez!) Y finalmente hice unas y las puedo compartir aquí con ustedes.
En estos días estaba trabajando y cortando varios papeles de prueba y y las dejé en mi escritorio, cuando los niños los vieron inmediatamente querían hacerlo ellos y agarraron sus tijeras y empezaron a cortar los suyos. El resultado fue tan chévere! Adrian diseñó unos lindos y me di cuenta de que se pueden hacer plantillas de todo tipo de dificultad que hay unas que incluso los niños pueden cortar y unas más avanzadas que los adultos más experimentados pueden hacer.
En este post podrán descargar tres plantillas papel picado: fácil, mediana y avanzada.
El de la foto en la portada y en las instrucciones paso a paso es la fácil y ¡¡Adrian la diseñó!!, por lo que ¡está garantizado que a los niños la pueden hacer! Yo sólo agarré el papel que él cortó la escaneé y la rehice para las fotos. Así está demostrado lo fácil que es para hacer papel picado, ¡ualquier tipo de figuras puede servir!


Aquí les dejo los pasos para hacer una guirnalda de papel picado:
Lo que necesitarán:
- Papel de seda (de china) de colores
- Pega blanca
- Clips o una engrapadora
- Tijeras
- Cordón
- Una plantilla
Instrucciones:
- Corta la plantilla dejando alrededor de media pulgada alrededor, excepto en la parte donde dice “folded side”, ahí córtala al ras de la línea.
- Corta el papel de seda que mida aproximadamente el doble del tamaño de la plantilla que vas a a usar.
- Agarra unos 4 papeles de seda juntos y luego dóblalos por la mitad.
- Coloca la plantilla encima de los papeles de seda y asegúrate de que el lado del doblez esté alineado con el borde de la plantilla que dice “folded side”.
- Ponle los clips alrededor para agarrar los papelitos con la plantilla. (También puedes engrapar en las partes que sabes que se van a cortar si quieres)
- Ahora procede a cortar el papel picado. Para algunas de las figuras del medio puedes acomodar el papel doblando por la mitad la figura y así cortar más fácilmente. Ve quitando los clips poco a poco pero asegúrate de que los papeles y la plantilla estén siempre alineados hasta que necesites.
- Abre el papel picado que ya cortaste y pliegue la parte de arriba un poquito hacia abajo, esto es para meter el cordón.
- Separa cada papel picado y abre la parte superior donde acabas de doblar, coloca el cordón adentro y ponle pega. Haz esto con todos los papeles.
- Dobla hacia abajo y deje que se seque.
- ¡Cuelga la guirnalda!
Esta guirnalda de papel picado es algo muy simbólico para el día de los muertos. En lugar de hacer la guirnalda también pueden hacer sólo el papel picado usarlos para colocarlos en el altar como una especie de mantel y se verá lindo también. Creo que voy a hacer esto este año.
En el medio del post pueden encontrar los links para bajar cada plantilla.
**ACTUALIZACIÓN**: Muchos de ustedes me han escrito preguntando si no tengo plantillas para bodas o las plantillas listas para vender, la verdad no las tengo pero aquí les puse una lista de papel picado de diferentes tipos que pueden encontrar en la internet, hay mucho y espero que todos encuenten lo que buscan!!:
Papel Picado mexicano mediano // Papel picado mexicano de papel de seda // Papel picado para bodas // Guirnalda para fiestas // Papel picado para bebés // Papel picado para revelar el género del bebé// Papel picado para fiestas

10 Comments
Ana María Cabreira
December 31, 2014 at 9:57 pmDari, me encantó esto! voy a usar el link para una lista de manualidades de fin de año. Un beso
dcruz
January 13, 2015 at 9:12 pmQue chévere Anita, gracias!
Ena
January 4, 2017 at 4:21 pmthank you for the template so happy!
Type + Image: Papel Picado – DesignClass.tech ✂️
October 9, 2017 at 8:22 pm[…] diadelosmuertos.nationalhispaniccenter.org/dia-de-los-muertos/origins.html happythought.co.uk/day-of-the-dead/how-to-make-papel-picado mamitalks.com/2014/11/papel-picado-templates.html […]
Decorating on a Budget | Puentes to CI
July 11, 2018 at 10:12 am[…] Mami Talks: A complete tutorial with three free PDF templates ranging from EASY to ADVANCED. The author of this blog is a graphic […]
Kamara
April 29, 2019 at 8:58 pmMuchas gracias por esos instrucciones. todos son muy lindos. Salud!
Dariela Cruz
April 30, 2019 at 3:39 pmDenada! Gracias por tu comentario!
Lindsay
October 10, 2019 at 7:31 amThese are really cool! They’ll be perfect for our birthdays…. Thanks
Erin
October 28, 2022 at 6:25 amThank you for sharing these! I can not wait to do make these with my English Language Learners classes next week.
A Splash of Color, Culture and Language: 4 Mexican Culture Project Ideas for the Classroom | FluentU Spanish Educator Blog
April 8, 2023 at 11:19 am[…] Pre-printed papel picado templates […]