

I wanted to make the eggs different this year so I looked and looked and I tried out the marbleized egg dyeing technique, the results are quite pretty! It is not that hard but I would love to have tens of dozens of eggs to practice with and perfection the technique. I learned from my app I got last year from Martha Stewart, it was totally worth it! Remember? We did our Easter eggs with rubber bands last year.
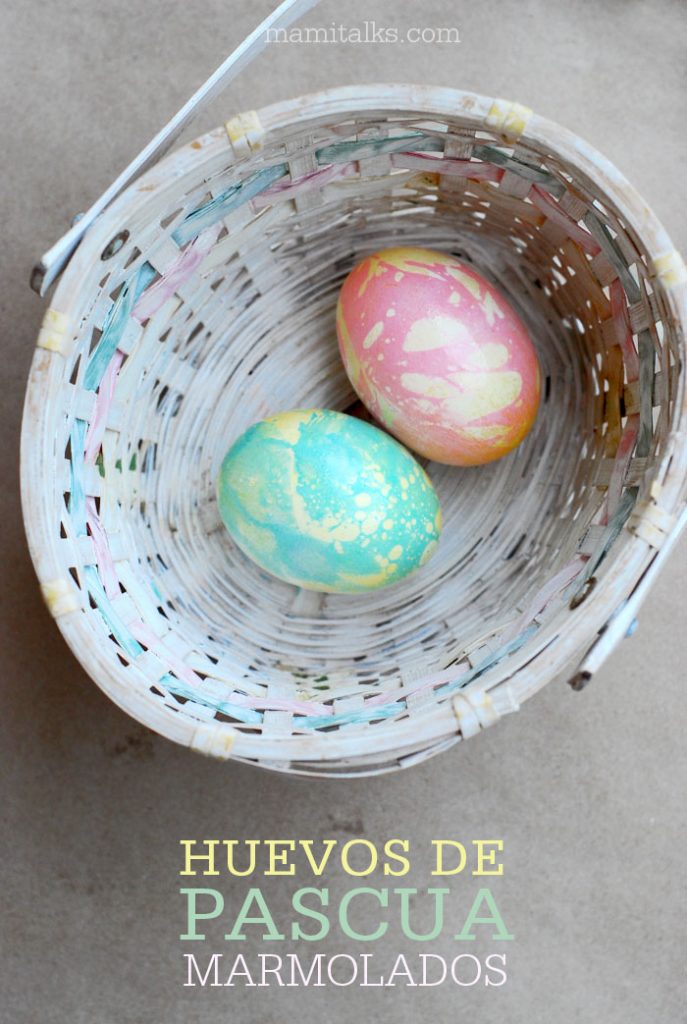
Marbleized Easter Eggs
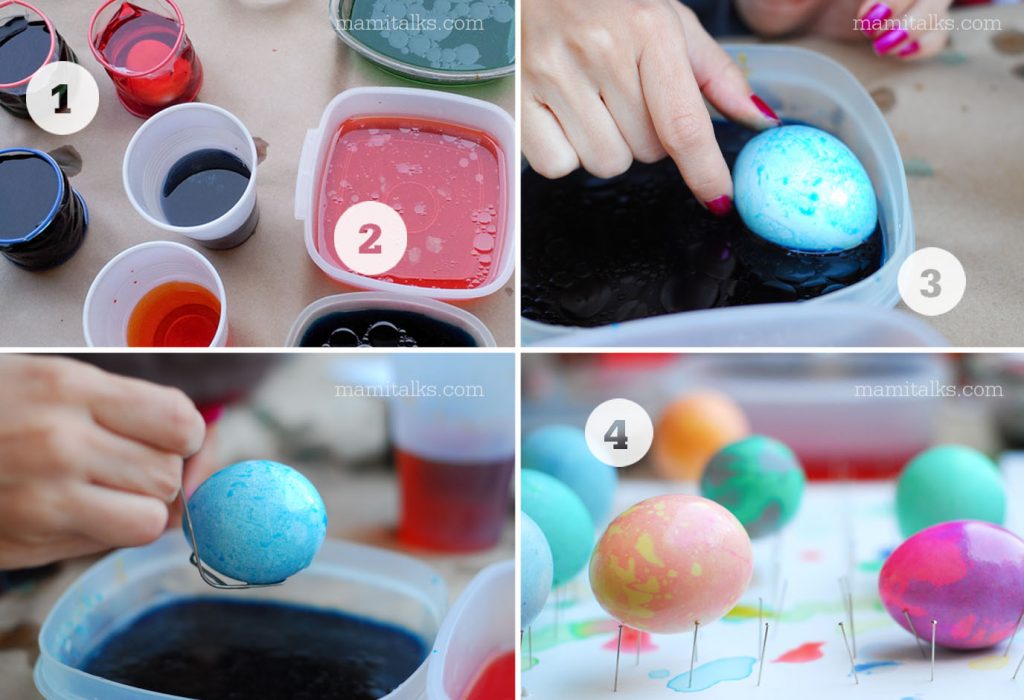
Here is the step-by-step:
- Dye your eggs with food coloring first and let them dry.
- Mix 2 to 3 cups of warm water, 1 tablespoon of vinegar and 15 to 20 drops of food coloring in a shallow bowl (let the liquids be at least 3/4 of an inch high). Add 1 tablespoon of olive oil and mix with a fork to create the swirls.
- Place the egg in the oil mixture and roll it around (not too much!) until you see the marble effect on it.
- Take it out, blot it with a paper towel and let it dry.
TIPS: I think the oil works best if it’s olive oil cause it’s thick, I didn’t have olive oil and made them with vegetable oil which I think was harder, so keep that in mind! Also, combining darker colors on top of light one creates a better effect.
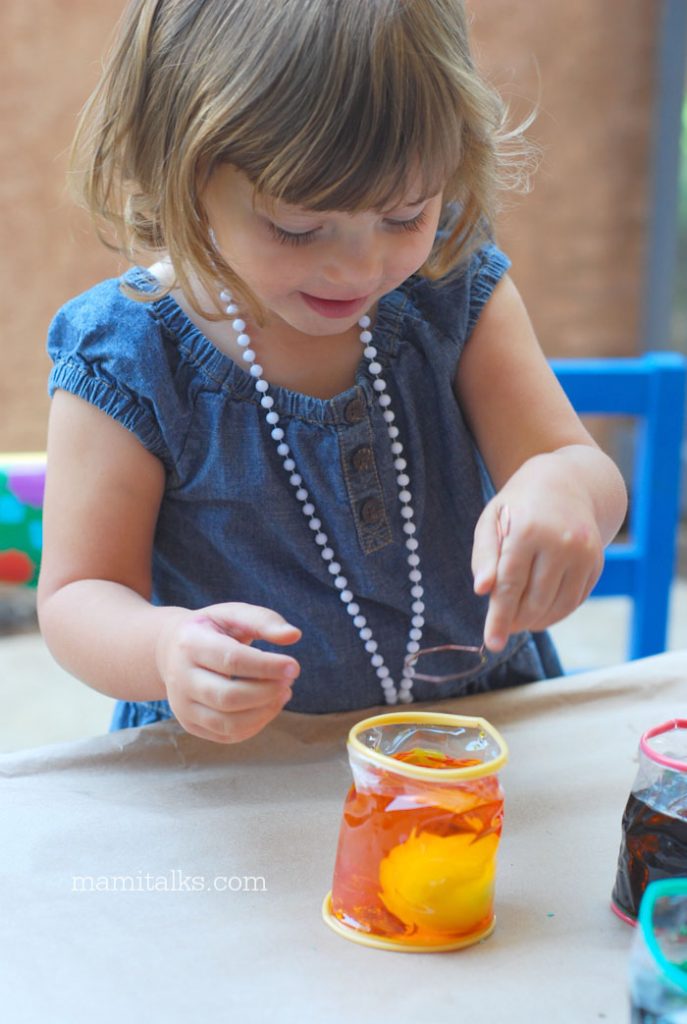
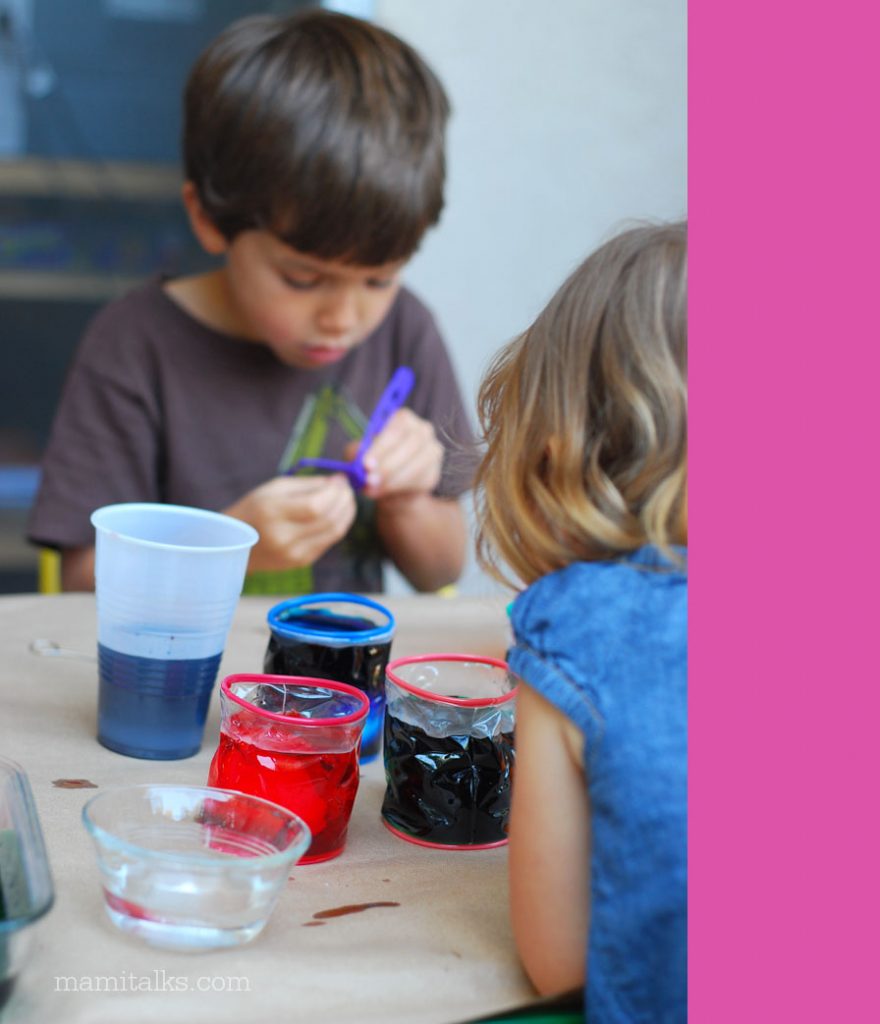
Maya and Adrian had fun of course dyeing there eggs, my sister was here visiting so she participated too. She and I were the ones marbleizing the eggs and Adrian did a couple of the marble effects as well. Dyeing eggs is always so much fun, we didn’t grow up with this tradition, we only did it once and I remember it been super fun but in Venezuela people don’t really do this. We even have pictures from that one time, maybe one day I’ll bring them here! Have a Happy Easter!

-ESPAÑOL-
HUEVOS DE PASCUA MARMOLADOS
Este año quería hacer los huevitos diferentes así que busqué y busqué y decidí intentar esta técnica de marmolizado, me gusta como quedaron! No es muy dificil y no se requiere de muchos ingredientes pero si de práctica, me gustaría tener miles de docenas de huevos para practicar! Yo aprendí con la aplicación de Martha Stewart que compré el año pasado, vale la pena! Se acuerdan? Que pintamos los huevitos con ligas?
Huevos de Pascua Marmolados
Aquí está el paso a paso:
- Tiñe los huevitos con colorante de comida y déjalos secar.
- Mezcla 2 a 3 tazas de agua, 1 cucharada de vinagre y 15-20 goticas de colorante de comida en un plato no tan ondo (que el líquido sea como de unos 2 cms de alto en total). Añade una cucharada de aceite de oliva y mezcla con un tenedor creando los espirales de aceite en el agua.
- Mete el huevito en la mezcla de aceite y ruédalo un poquito por todos los lados (no mucho!) hasta que le veas el efecto marmolado.
- Sácalo inmediatamente y dale toquesitos leves con un papel toallín y déjalo secar por completo.
TIPS: Yo creo que funciona mejor con el aceite de oliva poque es un aceite grueso, yo no tenía aceite de oliva y tuve que usar aceite vegetal que es mas delgadito y creo que las ondas no me salieron tan fuertes por eso. También, si combinan colores oscuros fuertes con colores claritos les quedará mejor el contraste porque a veces si son de los mismos tonos el color de abajo con el de arriba, no se nota casi.
Maya y Adrian se divirtieron metiendo huevitos en los baños de colores normales. Mi hermana, que estaba de visita cuando lo hicimos, también participó y ella y yo nos encargamos más que todo del baño marmolado aunque Adri hizo unos 2 baños marmolados y le gustó también. Pintar huevitos es siempre divertido, nosotros no crecimos con esta costumbre, sólo lo hicimos una vez que me acuerdo que fué super divertido y ahsta tenemos unas fotos, algún día las traigo! Que pasen Feliz Pascua!

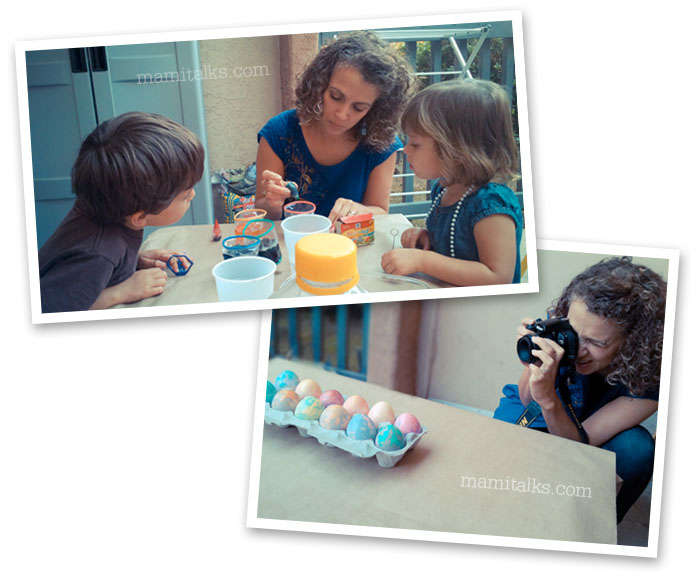
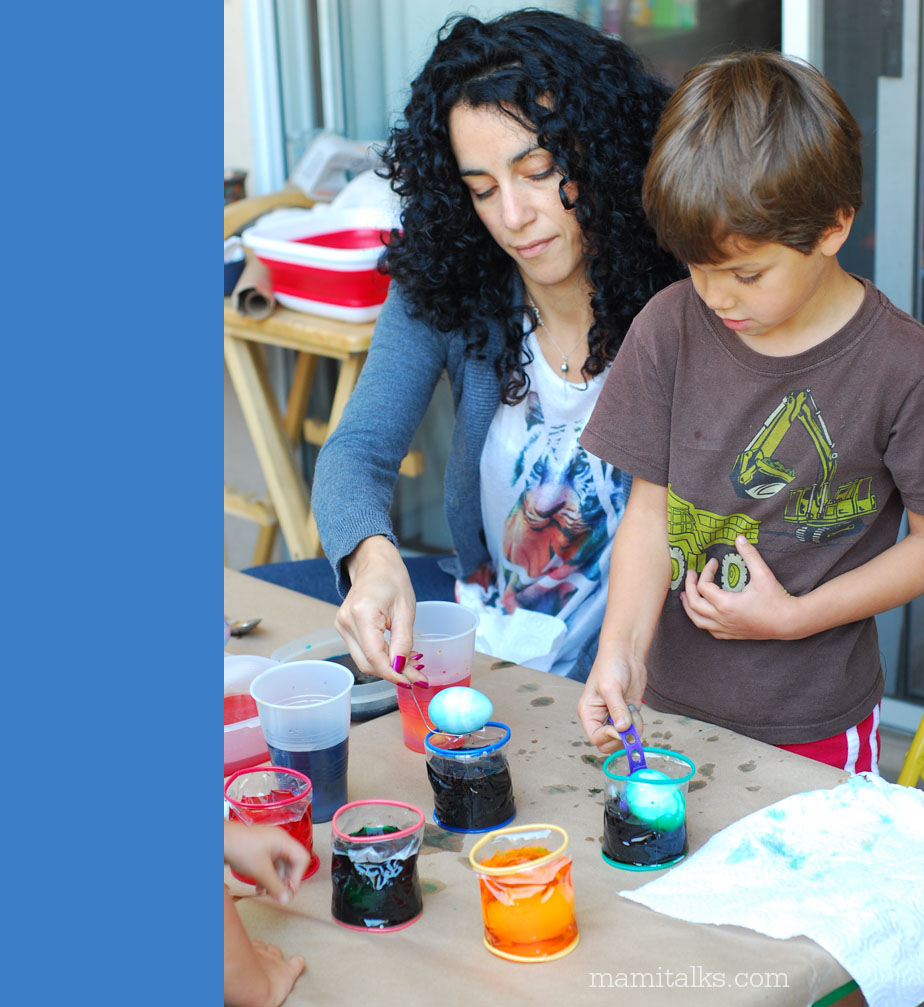
Since my sis was here she took pictures of me which is rare because I’m always the one taking them, it’s cool to see me behind the scenes!
– – –
Como mi hermana estaba aquí, ella me tomó fotos a mi durante nuestra actividad y me pareció chévere ya que yo nunca aparezco mucho en las fotos, es chévere verme detrás de la cámara de vez en cuando!
1 Comment
Marcela
March 29, 2013 at 9:25 pmHappy Easter to you and your family! Los huevos quedaron fabulosos!!!