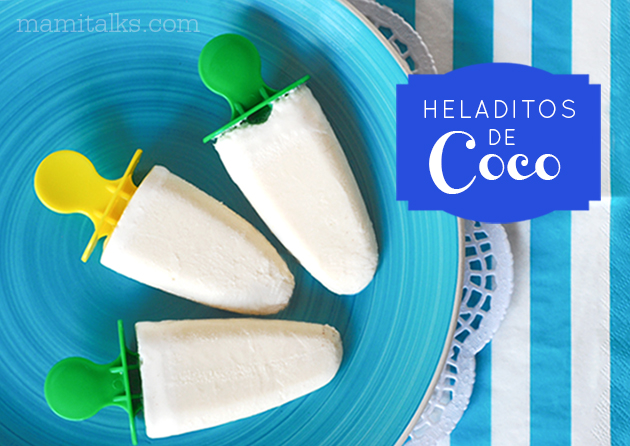
It’s been a loooong time since I don’t make any homemade popsicles for the kiddos, and I love this recipe I have for handmade popsicles, coconut ones. I made them once at a party and everybody loved them (
see Adrian enjoying it here) so I decided to try again. This time we didn’t have a party but the kids enjoyed them and we enjoyed them too, oh and I have to say, I had some mix leftover that I kept in the fridge and the next day it occurred to me to mix it with my coffee since I almost always drink an iced latte and it tasted glorious!! So I will make it again and post a picture of my coconut cream iced latte later on…
But let’s not deviate from the homemade popsicles, without further adieu here is the recipe:
Homemade Coconut Popsicles
- 1 can of coconut milk (13.5 ounces)
- 1 can evaporated milk (12 ounces)
- 1 can of sweetened condensed milk
- 1/8 teaspoon ground cinnamon
- 1/2 teaspoon vanilla extract
Blend all ingredients together and pour into popsicles molds. Place in the freezer for at least 3 hours our until they’re done.
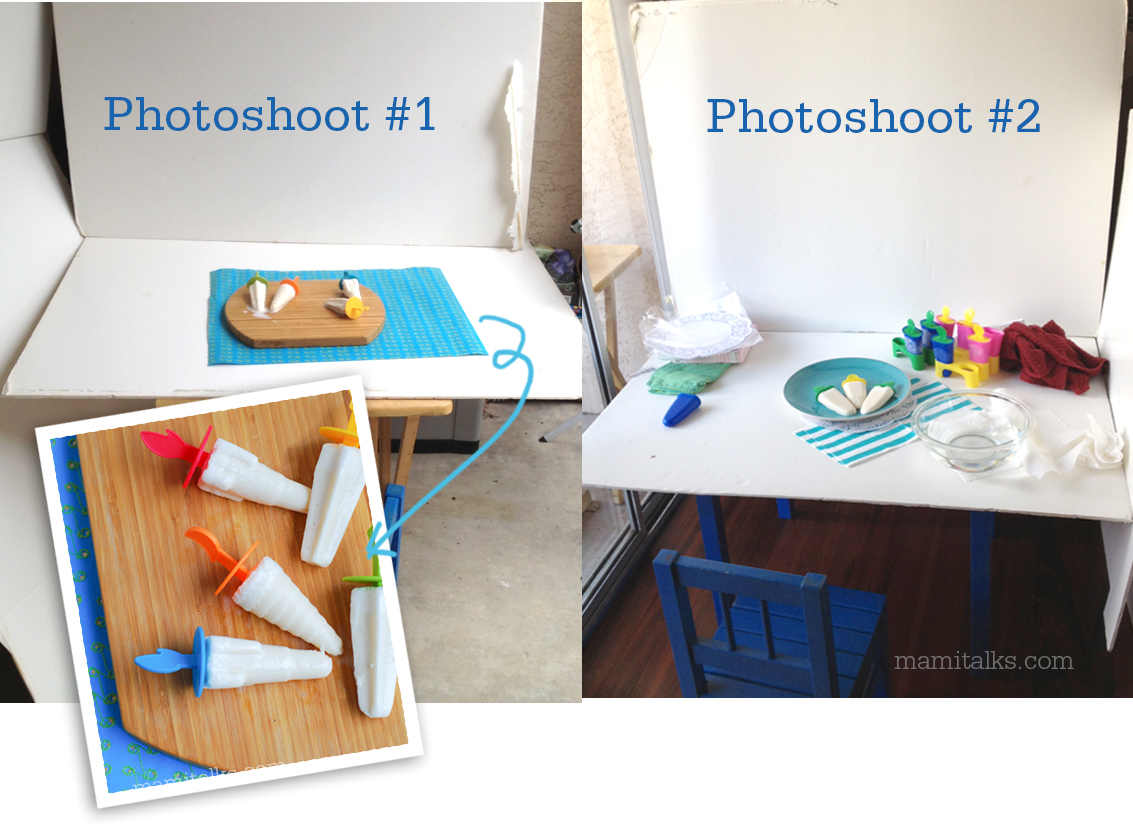
Behind the scenes
Now let me tell you that I don’t have much experience opening up plastic popsicle molds,
it is not as easy as it seems! The sticks kept coming out by themselves, and yes I was using warm water on the bottom and on all of the popsicle itself but nothing. So finally when I was able to take some of them out correctly I had to take the photos right away otherwise they would melt too fast, so that meant I didn’t have much backup to replace them once they looked melted and I had to do some photoshop retouching afterwards. And of course, after the pictures were taken and I opened them for the kids I was already experienced and learned to open them perfectly by leaving it under the warm running water for 5 seconds each side, making sure the water touches every part of the popsicle and voilé, it now works every time!
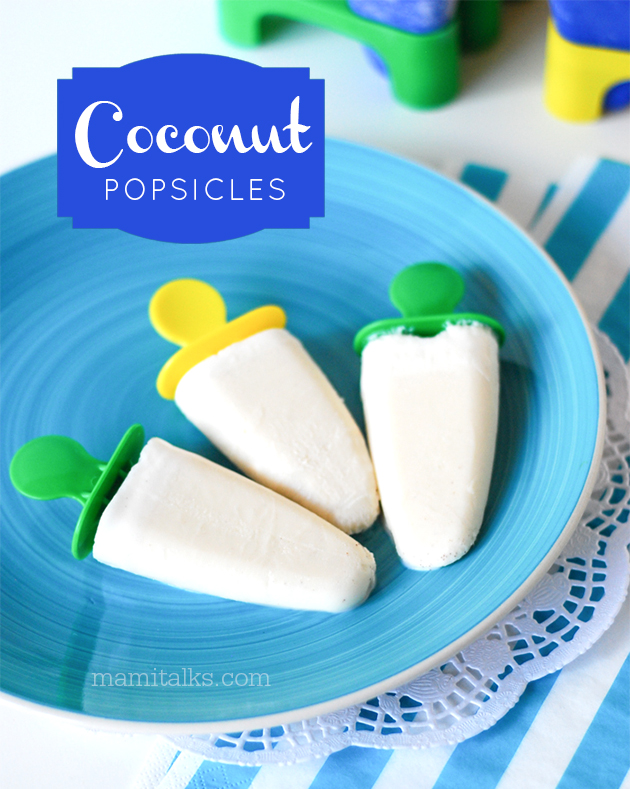
Another thing is that I first went with another styling of the photo completely, I used a wood board and a blue paper background, but I wasn’t 100% happy with the result pictures. So I went to the 99cts store (the day after) and got this wonderful blue plate (I didn’t have any bright color plates before) and I really loved the results this time. It makes such a difference when it’s the right setting. I usually get a lot of props at the 99cts store, for example the paper dollies I got there too 🙂 You can take a look at the bottom of the post for my little photo studio set-up and a sample of the other photo… It’s always a learning experience!
– E S P A Ñ O L –
Hace muuuucho tiempo que no hago heladitos a los niños y me gusta mucho una receta que tengo para hacer estos heladitos de coco que hice una vez para una fiesta y a todo el mundo le encantó (
Aquí pueden ver a Adri disfrutando uno) así que decidí hacerlos otra vez. Esta vez no tuvimos ninguna fiesta pero los niños los disfrutaron porsupuesto y ah, me sobró un poco de la mezcla así que la dejé en la nevera y al día siguiente la vi y decidí ponérsela a mi café frío que casi siempre me tomo y me supo riquísimo! Así que ya le tomaré fotos un día para mostrarles para que se animen a probar…
Pero no nos desviemos del asunto de los heladitos hechos en casa, aquí les dejo la receta:
Heladitos de Coco Hechos en Casa
- 1 lata de leche de coco (13.5 onzas)
- 1 lata de leche evaporada (12 onzas)
- 1 lata de leche condensada
- 1/8 cucharadita de canela
- 1/2 cucharadita de extracto de vainilla
Licúa todos los ingredientes juntos y coloca la mezcla en moldesitos para helados. Ponlos en el congelador por al menos 3 horas hasta que estén listos.
Detrás de la cámara
Les quiero contar mi experiencia con estas fotos porque déjenme decirles que desmoldar los helados de moldes de plástico no es tan fácil como parece, los palitos me salían solitos a cada rato y si, los estaba remojando en agua tibia por un ratico pero nada. Así que finalmente cuando tuve varios abiertos corrí a tomar la foto rápido porque se derriten y no tenía más helados buenos para continuar, total que una retocadita en photoshop me ayudó. Ah y porsupuesto una vez que tomé las fotos y ya había abierto muchos aprendí cuando se los estaba dando a los niños, puse el heladito debajo del chorro de agua tibia por 5 segundos de cada lado asegurándome de que el agua le corriera por toda la parte de afuera (no sólo la parte de arriba o de abajo) y vualá, funciona cada vez!
Otra cosa es que hice una primera sesión de fotos totalmente distinta, con una tabla de madera y un papel azul de fondo pero no estaba 100% convencida con los resultados. Así que decidí usar un plato de color, me fuí a la tienda de 99cts y compré este plato azul que me encantó (yo no tenía ninguno de color!) y ahora si me convenció. Realmente hace la diferencia la manera de presentar las cosas. Compro muchas cosas para las fotos en el 99cts, por ejemplo los mantelitos de papel los compré ahí también. Aquí arribita pueden ver mi pequeño estudio para la foto y la foto anterior… Es siempre una experiencia de aprendizaje!
And I didn’t change the popsicle molds on purpose! By chance the popsicle molds that opened right were the different ones the next day. – – No cambié los moldes de heladitos porque quise! Fué por casualidad que me tocó usar diferentes moldes porque esos fueron los que abrieron bien en cada foto.
I am Dariela, originally from Venezuela, a photographer and graphic designer who currently resides in San Diego, California.


3 Comments
pati
February 26, 2013 at 1:58 amRrrrrrrriiiicoooooo!!!! Ya me animaste!
Las fotos te quedaron fabulosas, los helados se ven divinos, casi tanto como mis sobrinos, jijiji…
Besotes de coco a los cuatro.
Dariela
February 26, 2013 at 6:51 pmGracias Pati! Si! Anímate!!! 🙂 Jajaja, que cómica 🙂 🙂 🙂
Unknown Mami
February 27, 2013 at 4:23 amIs there nothing you can't do?! Yum!